Using Charting Templates-Clinician
If you haven't already done so, please read EMR Overview, Using Charting Templates and Using Wizards before proceeding.
The EMR Glossary explains a number of EMR specific terms.
Summary
The information entered on the chart note by clinicians varies a great deal from clinic to clinic. By default, the application limits clinician access to four tabs in the EMR Charting Workspace, Visit tab (including vital signs), History of Present Illness (HPI), Patient Medical History (PMH), and Review of Systems (ROS). The ones you work with will depend on your clinic's procedures. At some clinics, clinicians also have access to the Results and Procedures tabs. Providing clinicians this additional access requires special setup in EMR Parameters.
Access to the application does not by itself allow access to the Provider Charting. Clinicians must specifically be granted access to the Charting Workspace when user codes are set up.
Provider Charting
View a Charting Template in the EMR Charting Workspace
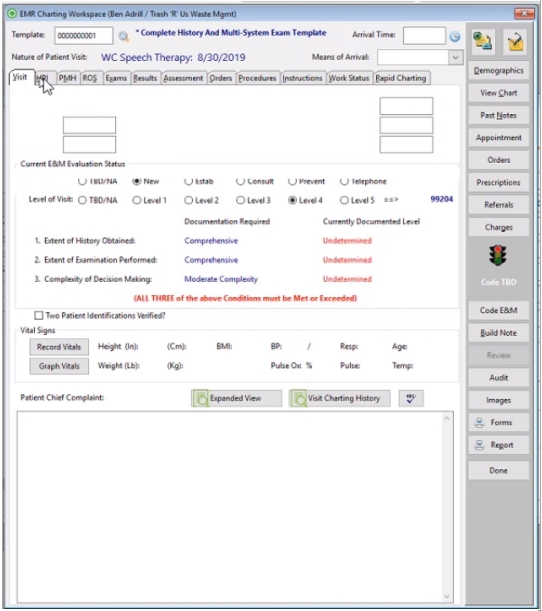
The EMR Charting Workspace is comprised of two windows, the EMR Charting Workspace window where the work is done, and the Clinical Problems List sidebar, available for quick reference. Read the topic Charting Workspace Problems Lists to learn more.
Main Work Area
Notice the tabbed areas. Clinicians typically work on the first four.
Problem List
Access Provider Charting Notes
Charting Workspace Activities for Clinicians
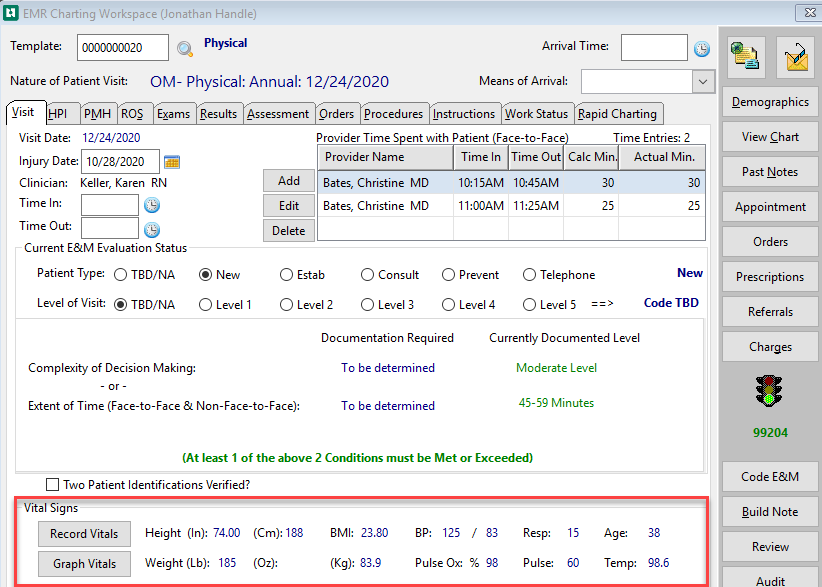
VISIT tab - Vital Signs
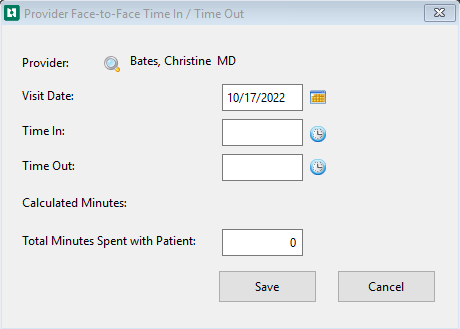
When the EMR Charting Workspace opens if you are a provider the Provider Face-to-Face time In / Time Out pop-up window opens
-
Enter the Time In (or select the clock to enter current time and select Save
-
Confirm Date of Injury or Visit.
-
Select the correct Patient Type.
-
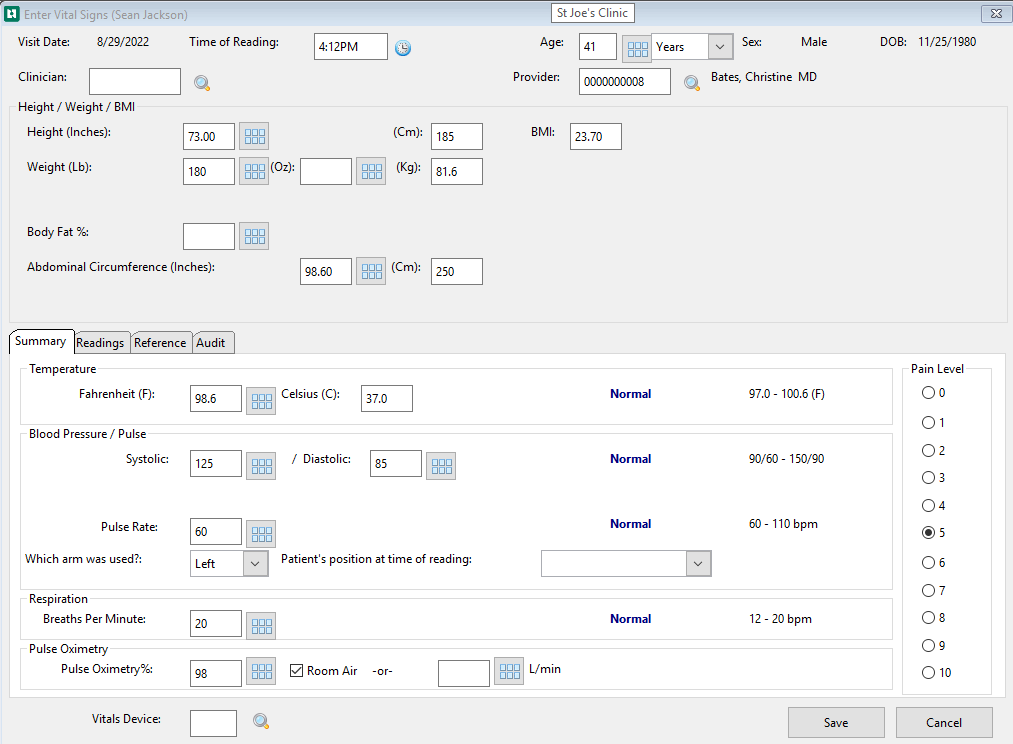
Click the Vitals button to display the Enter Vital Signs window.
-
Enter or confirm the Clinician.
-
Enter the vital signs.
-
Height and weight will be converted to metric units.
-
After the weight is entered the BMI will be calculated.
-
If the patient's age is between 2 and 17 years, a field will appear to the right of BMI where the BMI Percentile can be entered. This is not an automatic calculation.

-
If your system has had normal ranges vital signs set up, they will be displayed in the bottom right of the window. As vital signs are entered, "Normal" or "Abnormal" will be displayed beside the related normal range. Multiple sets of normal ranges can be set up for each vital sign based on age, weight, sex, etc. The software will display the correct normal ranges based on information available for the patient.

-
Click Save.
-
The application will copy the vital signs back to the main window. If more than one set of vitals was taken the last one will be listed on the Summary tab.
-
To view the additional reading select the Readings tab
-
From this tab the vitals can be added, edited, deleted, printed, or create a graph using the buttons available.
-
Notice, also, that it has looked up the patient's age in Patient Demographics.
-
-
Enter the Patient Chief Complaint, if not already there. (It might have been entered at the front desk when the patient was registered.)
-
Proceed to the HPI tab.
HPI tab - History of Present Illness
PMH tab - Patient Medical History
Manage Physician Orders
As the provider charts the note certain additional steps might be ordered. These can include performing x-rays, scheduling follow-up appointments, giving instructions to the patient, and other items. The software provides a mechanism for keeping track of which orders have been completed and which are pending. How you use the system will depend on decisions made about work flows within the clinic.
It may be that part of your job is fulfilling certain orders and then updating their status. This can be done by clicking the Orders button in the charting workspace, but this is not the best place to do it. The reason is that only one person at a time can be in the charting workspace working with a particular visit. If you begin completing the orders there, and the provider needs to get in to complete charting the visit, it is a problem. However, this will not delay you.
There are two locations where you can work with orders for this specific visit. The first is the Clinic Status Whiteboard. Since only patients currently in the clinic are seen on the Whiteboard, making it easy to find the one you want, this might be the most efficient point to work from when working with orders while the patient is still in the clinic.

If a patient has already been checked out, but there is additional work to do with orders, from the whiteboard select Discharged Patients from the bottom of the window, locate the patient, and select Edit.
You can also complete orders from the Enter Patient Visit window without creating an access conflict in the charting workspace. Just open the Enter Visit window and select Orders from the right side of the window. The topic How to Track Physician's Orders gives details on the process.
Optional Charting Workspace Tabs for Clinicians:
-
ROS tab - Review of Systems
-
RESULTS tab - Review of Systems
-
PROCEDURES tab - Review of Systems